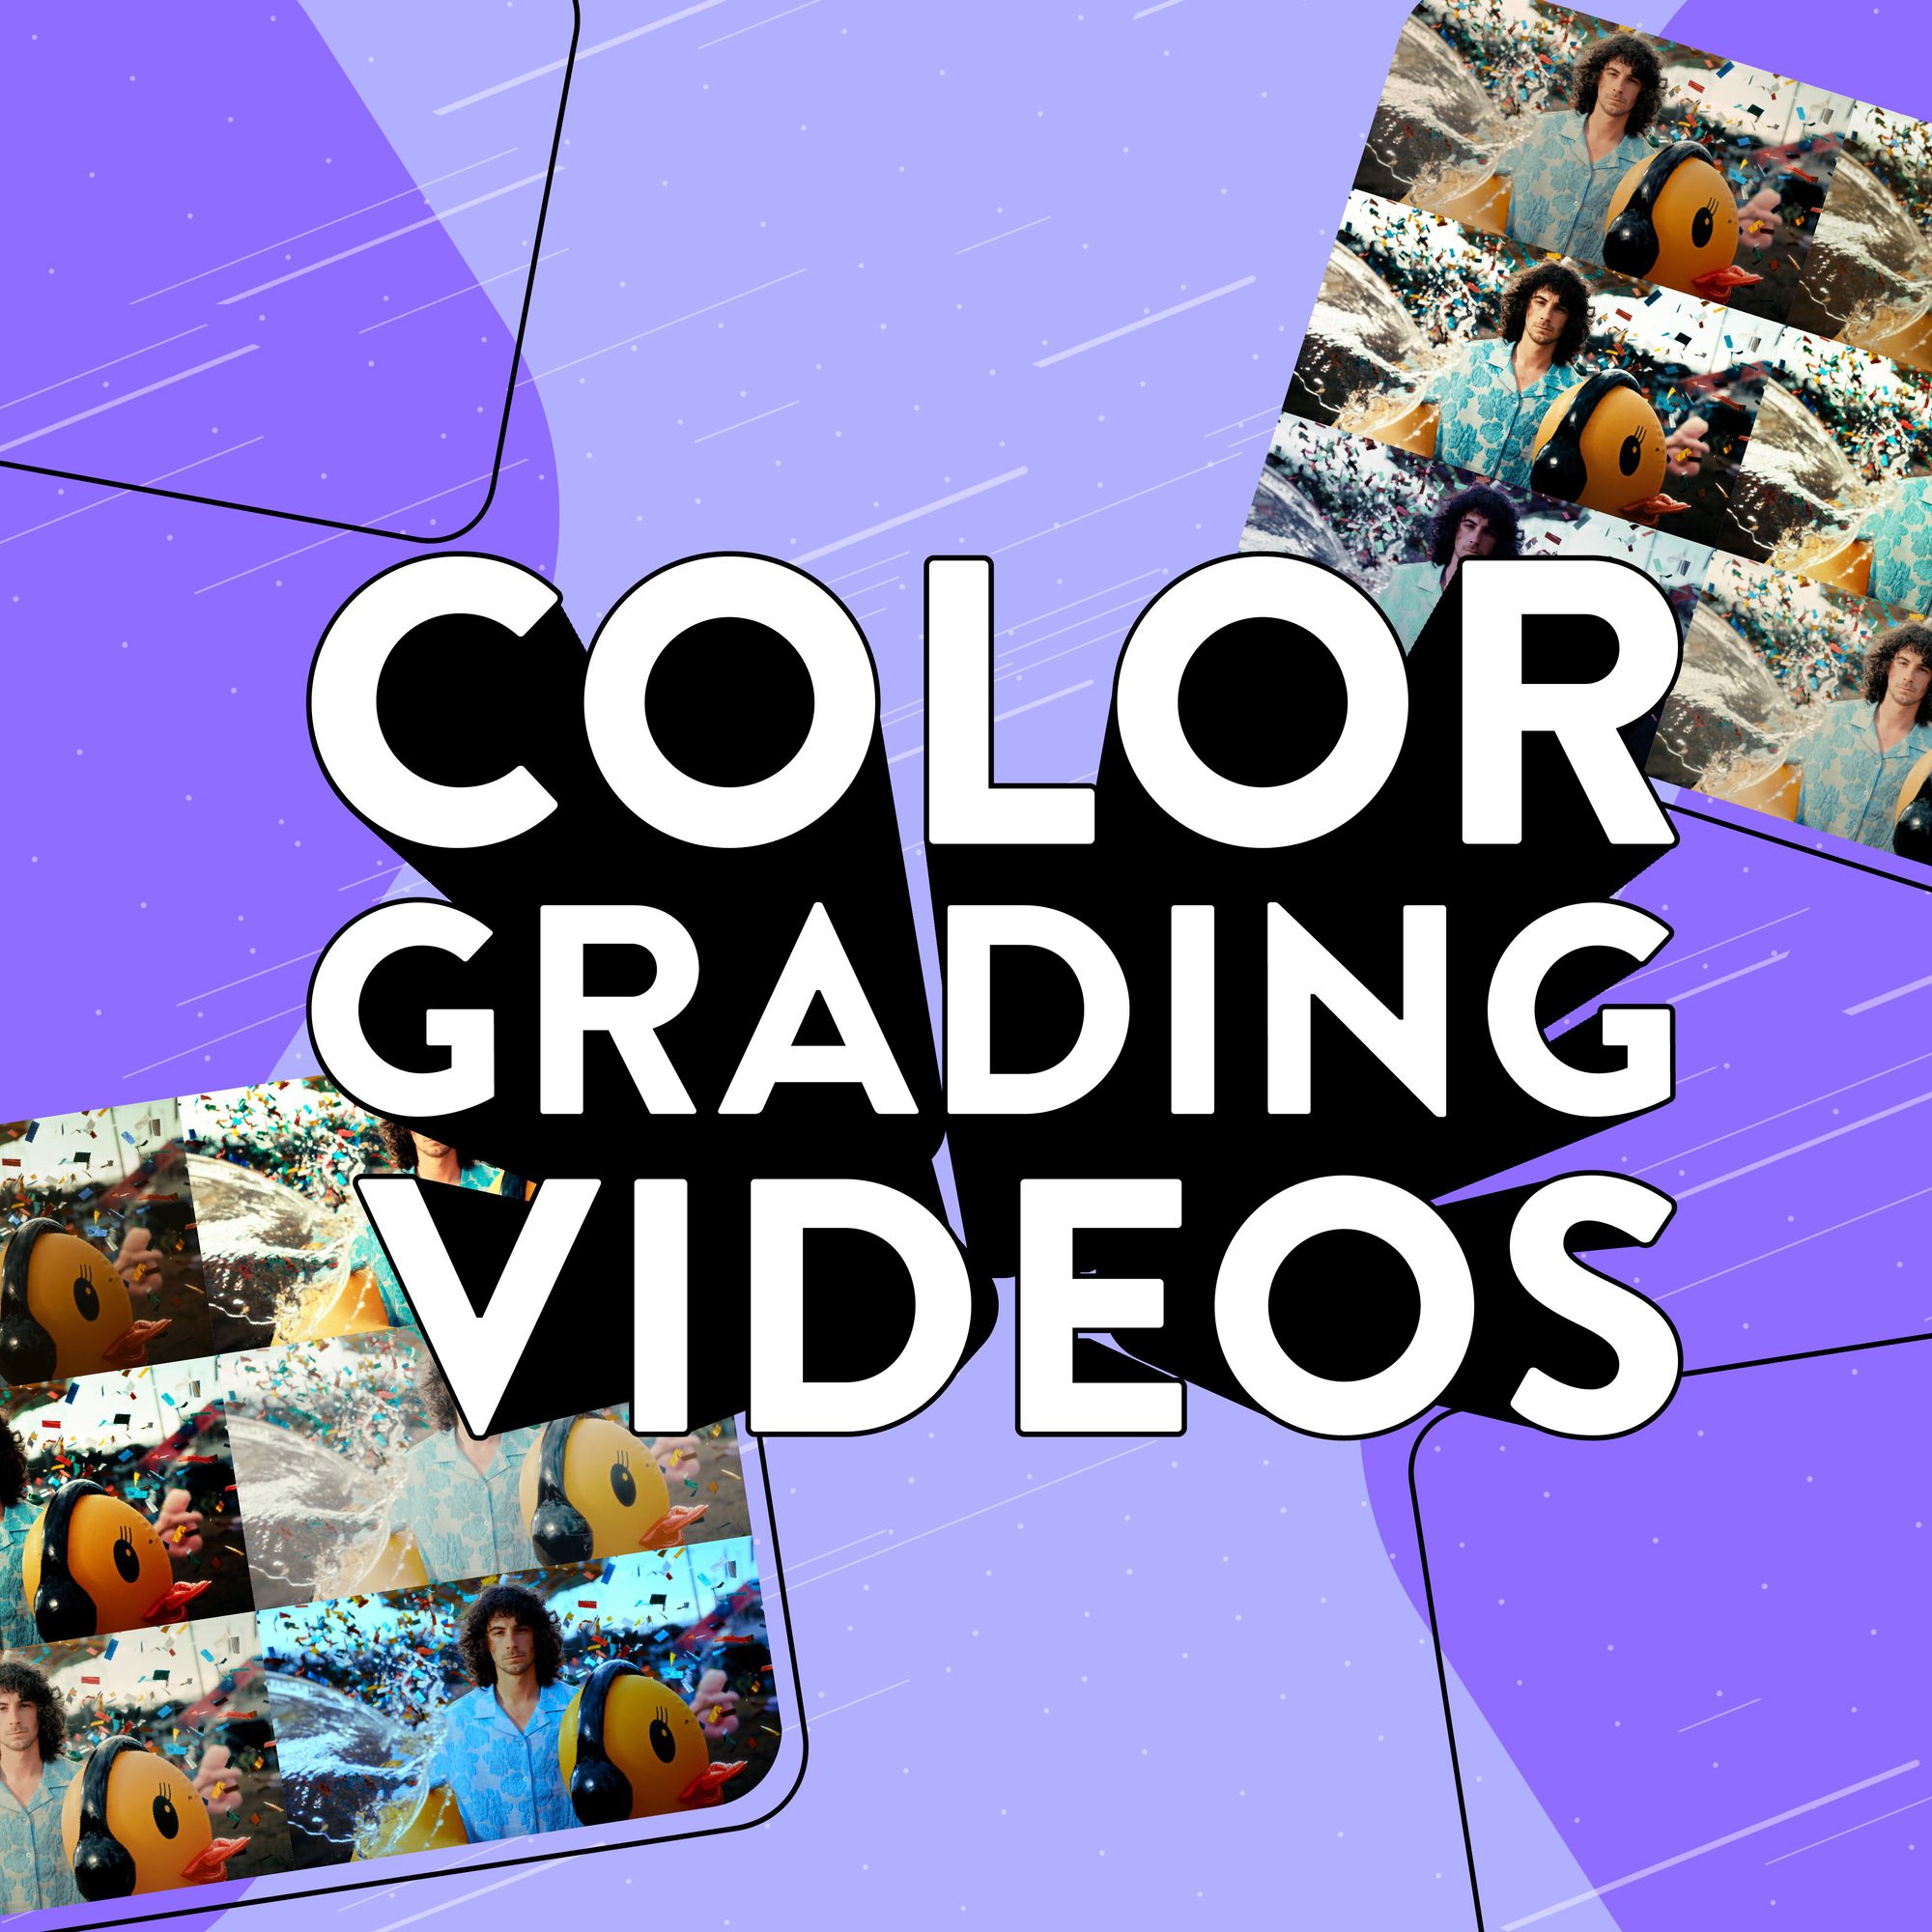
Have you ever shot something you thought would look incredible, only to review the footage and find that it doesn’t match your vision? It’s a frustrating part of being a creator! But you don’t need to throw it away just because what you captured didn’t turn out how you wanted it to. Even the flattest of footage can be given a new lease of life when you edit it in post. This is where color grading comes in.
Color grading gives you complete control over how your edit looks. And even if you don’t learn every color grading technique, there are still downloadable presets you can drag and drop into your editing software. Whichever route you choose, you’ll be able to transform your existing footage to match your vision. Think of Wes Anderson's colorful-yet-muted aesthetic or Sam Kolder's vibrant and punchy style. That's the power and control that color grading can give you.
Best of all, anyone can pick up the basics of color grading and quickly learn how to shape their own signature style. For creators looking to build a personal brand, it's a great skill to have. In this guide, we'll start with the simple steps that'll help you fine-tune your footage. But stick around as we'll also share some pro tips on how to use color grading to level up your videos, as well as the rookie mistakes you'll want to avoid.
- What is color grading?
- Color grading terms explained
- How to color grade your videos (Step-by-step)
- How to color grade in DaVinci Resolve
- How to color grade in Premiere Pro
- Pro color grading tips and mistakes to avoid

What is color grading?
Color grading is when you enhance and adjust the colors in your video to achieve a specific style. It involves experimenting with different settings in your editing software until you find the look that’s right for you – things like exposure, contrast, saturation, and hue. But while color grading might sound like a complex process, it’s actually quite simple.
You have the option to go deep into the world of color grading – take full control and fine-tune every aspect of your footage. But you can also choose to take advantage of downloadable LUTs and color grading presets to achieve the same effect – only much quicker! Whichever route you choose, there are different ways you can harness the power of color grading.
Use color to enhance your storytelling
Color grading can be a great way to change the entire mood of a video. Take Joselyn Hana as an example – she uses a sepia-style color grade in her travel content to achieve a warm, nostalgic feel. Say you wanted to create a sense of mystery instead? A darker, blue tint would work better. Essentially, the way you adjust the colors in your footage can transform your videos and better complement your narrative.
Add a professional touch to your videos
Color grading doesn’t just enhance your content – it can take it to a more professional standard. Jaydee Alberto elevates his simple vlog concept with a rich, cinematic color grade, making his videos look like high-end productions. At first glance, you wouldn’t think his videos were the work of a solo creator!
Create a consistent style and build your personal brand
When you’re looking to build your own brand as a creator, you’ll want to make your content consistently look and feel the same. It helps your viewers find your videos recognisable and distinctive. This familiarity is a great way to build engagement over time – making it easier for people to click on your content, watch for longer and hopefully choose to follow you.
Consider how YouTube photographer Peter McKinnon matches his rustic outdoorsy vibe with a sun-flecked aesthetic – as soon as you click on one of his videos, you’re hit with his trademark style. Think about how you might create your own signature look by sticking to a consistent color grade.

Color grading terms explained
Color grading can seem quite complicated, especially when you first start. Often learning from scratch involves looking up lots of new terms and being faced with complicated processes. We've been there and know how it feels. But color grading is a lot more straightforward than it looks. Let's get started with some of the key concepts you're likely to come across, so you can understand how to use them.
Color temperature: This refers to the overall color tone of your video. The temperature can make your content look warmer (more orange) or cooler (more blue). When you start on a new edit, this is one of the quickest ways you can dramatically change the mood of your footage. Give it a try and see how your clips can become more vibrant or harsh depending on the color temperature.
Exposure: This is how you control the overall brightness of your video and determine how light or dark your footage looks. You want to balance the highlights (bright areas), mid-tones (main subject), and shadows (dark areas) to achieve a natural, well-lit look. The aim is to keep your footage clear and detailed, without losing information in overly bright highlights (blown out) or overly dark shadows (crushed).
Saturation: Use this to control how vivid or dull the colors in your video appear – having higher saturation makes colors pop, while lower saturation creates a softer, muted look. Just be careful not to overdo things as oversaturating your footage can make it look unnatural.
Contrast: Balances the difference between the darkest and brightest areas of your video. You can either make footage punchy with strong highlights and shadows, or soft with a more even look.
Hue: This allows you to alter the actual colors in your footage, allowing you to shift red to orange, green to blue, or any other color adjustment you need. Unlike color temperature, which adjusts the overall color tone of your video, changing the hue allows you to fine-tune specific items in your footage. It can be useful for skin tones or for highlighting items in the background of your shot.
LUTs (Look-Up Tables): The ultimate color grading time saver! These are color presets you can use to instantly apply a specific color style or mood to your footage. You can simply download, drag and drop them into your editing software. See how they can transform your content in seconds with our guide to adding LUTs to your edits.
Scopes (waveforms and vectorscopes): These visual tools help you monitor and adjust your colors and brightness levels. You’ll use these to balance your footage and make sure it isn’t too dark, too bright, or too colorful.

Color grading your videos (Step-by-step)
Color grading your footage yourself isn’t as complicated as you might think. We’ve broken down each step to explain exactly how you can color grade your videos – no matter if you’re aiming for a full-on cinematic look or just want your colors to pop.
Step 1: Prepare your footage before you start
Start by setting your camera to a flat profile
Great color grading starts with how you shoot your footage. If your camera has the setting, use a flat profile like 'Log' or 'CineStyle.' It’ll give you more flexibility when you color grade later.
Don’t worry if you’re shooting in a standard profile – it’s perfectly possible to color grade without log footage and still get great results. You can simply adjust your footage in the edit, or apply a LUT to completely change the look of your footage.
Be aware of exposure and white balance when filming
You want to focus on these when you set up each shot. First, watch your exposure. Make sure your footage isn’t too bright (what’s known as blown-out highlights) or too dark (crushed shadows). Then, set your white balance correctly to avoid unwanted color casts – like a blue or orange tint. And if your footage still has a color cast, don’t panic. You can always fix it in editing later.
Step 2: Apply basic color correction
Start by adjusting your white balance
In your editing software, make sure whites look truly white, and skin tones appear natural. This simple step is the foundation for accurate, lifelike colors. Simply use the white balance dropper tool to select something that should be pure white in your footage, like a white shirt, a piece of paper, or you can even buy a white balance grey card especially. This will tell your editing software what true white should look like.
Set your exposure
Use the exposure slider or curves in your editing software to balance the brightness of your footage. Aim for natural lighting that keeps details visible without making anything too bright or too dark.
Balance shadows, mid-tones and highlights in your footage
Now it’s time to use the color wheels or curves in your editing software to balance your shadows, mid-tones, and highlights. Keep shadows dark but detailed, avoiding crushed blacks that lose subtle shades. Mid-tones should highlight your main subject, making it clear and well-lit. And finally, control your highlights – keep them bright and crisp without blowing them out.

Step 3: Add an entirely new look with LUTs (Look-Up Tables)
Want to transform the whole look of your video in an instant? Let us introduce you to LUTs (Look-Up Tables). They’re pre-made color filters that will quickly transform the look of your video.
Simply find the look you want from Uppbeat’s LUTs library, packed full of ready-to-go looks you can easily apply to your footage. Download the LUT you’re after and apply it in your editing software, adjusting the intensity to suit your footage.
They’re super simple to use, but you can check out our step-by-step guide on how to add LUTs to your edits if you’re after pointers.
Step 4: Tweak to create your signature style
Finesse your look by adjusting contrast, saturation, and sharpness
Begin with contrast – this enhances the difference between light and dark areas, making your footage pop. Next, tweak saturation to control how vibrant your colors appear, but don’t overdo it, or your footage will look unnatural. Finally, adjust sharpness to give your video a crisp, clean look, but keep it subtle to avoid a harsh, grainy effect.
Get creative with your color wheels
This is where you’ll really shape the mood of your footage! Want a sunny, nostalgic look? Add warm tones to your shadows and highlights. Going for something dramatic and cinematic? Lean into cool tones for a crisp, moody vibe. Adjust shadows, mid-tones, and highlights until you capture the perfect look.
Fine-tune details with selective grading
If you want to pick out specific parts of your video – like making the sky a deeper blue or giving your subject’s skin a natural warmth – use masks or tracking tools in your editing software. This lets you make precise adjustments to whatever you choose, without affecting the rest of your footage.

Step 5: Ensure your footage is consistent
Match the color grades between clips
If your video uses multiple shots, ensure a consistent look by copying color settings from one clip to another. This keeps your colors balanced and helps your footage flow seamlessly.
Use scopes to ensure your color grading is consistent throughout
The waveform shows the brightness of your image, helping you spot overexposed highlights or crushed shadows. Aim for a balanced curve without clipping at the top (too bright) or bottom (too dark).
Then, use the vectorscope to keep your colors balanced – make sure your skin tones align with the skin tone line, and check that your colors aren’t too saturated or dull. This’ll give you natural, accurate colors throughout your video.
How to color grade in DaVinci Resolve
- Launch DaVinci Resolve and open your project.
- Go to the Color tab.
- Use the Color Wheels for basic adjustments (contrast, saturation, and exposure).
- Apply a LUT if desired, and customize it.
- Use the Curves panel for advanced adjustments.
- Fine-tune using color wheels and scopes to achieve your desired look.
How to color grade in Premiere Pro
- Import your footage and open it in the timeline.
- Go to the Color workspace or Lumetri Color panel.
- Adjust basic corrections (white balance, exposure, contrast).
- Apply a LUT using the Creative tab.
- Use the Color Wheels for advanced adjustments.
- Fine-tune using curves and selective color adjustments.

Pro color grading tips and mistakes to avoid
You’ve got the basics of color grading, but here’s how you can take your color grade game to the next level. These are the handy pointers that’ll give you a head start to creating what you want, shortcuts to help you save time, and the pitfalls you want to avoid.
🎨 Master color theory, your shortcut to better color choices.
When you know how colors work together, you’ll be able to create balanced, visually-appealing looks. Get to know concepts like complementary colors (red vs green) or warm and cool tones. It’ll make your color grading faster and more effective.
🎥 Don’t be afraid to experiment
This is how you’ll discover your unique style. Try different color grades without fear. If something doesn’t work, you can always undo it. This freedom helps you discover creative looks that make your content stand out.
✨ Use contrast wisely
High contrast can add drama, but too much can crush shadows (losing dark details) or blow out highlights (losing bright details). Aim for a balanced look where everything is clear.
💾 Save your favorite grades as presets
If you find a look you love, save it as a preset. This means you can apply the same style to future videos in seconds, keeping your brand consistent. Work smarter, not harder.
🌈 Avoid over-saturation:
Subtle colors simply look better. Pushing saturation too high can make your footage look unnatural or distracting. Instead, aim for colors that look vivid but still believable.
🌑 Don’t crush blacks or blow out highlights
Footage that’s too dark (crushed blacks) or too bright (blown highlights) loses important details. Keep your shadows clean and your highlights clear for a polished look that preserves every part of your footage.
📏 Keep your grading consistent
Make your video look like one coherent piece. If you’re working with multiple clips, make sure your color grading is consistent across all of them. This gives your video a cohesive, professional feel.
👤 Prioritize natural skin tones
People should look like people. Even with creative grading, skin tones should look natural – not overly red, green, or washed out. This will keep your subjects looking their best.
📝 Plan your grading style before shooting
Decide on the mood you want to create before you start shooting. A warm, golden look for a summer vlog? A cool, dramatic tone for a short film? Having that starting point in mind will help you stay consistent and make the right choices.
🎛️ Build a library of go-to LUTs and presets
Save time and stay consistent by collecting your favorite LUTs and presets. This lets you quickly apply your signature look without starting from scratch with each project.
🚀 Streamline your creative flow
Found a workflow that works for you? Simply do the same thing again next time, whether you’re applying basic correction or full-blown creative looks. A simple, repeatable process will speed up your editing and keep your results reliable.

Craft your signature look with color grading
Color grading is your shortcut for creating professional quality content that stands out from the crowd. And if you’ve made it this far, you’re ready to take your videos to new, eye-catching levels – there’s no limit to the creative looks you can achieve!
It starts before you even hit record, making sure your camera’s set up to achieve your creative vision. And you’ll always need to tidy up your footage too. But these steps are simply a springboard to the real fun of color grading, making those subtle tweaks that create a look that’s all yours!
Need some inspiration for how your next video could look? Uppbeat has a library packed full of LUTs for you to explore, designed especially for creators. Simply download and apply your chosen LUT to your project, or use them as a starting point to craft your own aesthetic.
Elevate your edits with guides on how to use motion graphics
Motion graphics are the extra stardust that makes your videos look professionally-made and keep people watching longer. Learn how to add them to your next project with our simple guides:
- How to Use Uppbeat's Motion Graphics Library
- How to Get Animated Backgrounds for Video
- The 9 Most Popular Animated Backgrounds for Your Videos
- How to Change Your Video Background (With or Without a Green Screen)
- What Are Video Overlays?
- The 11 Most Popular Video Overlays for Editing
- How to Add Overlays to Videos: A Simple Step-by-Step Guide
- What Is Color Grading In Video Editing?
- How to Color Grade Your Videos: A Step-by-Step Guide
- What is a LUT in Video Editing? (And How to Add Them to Your Edits)
- What is Rec709 and How Can You Apply It to Your Video Edits?
- 8 Simple Steps To Make Cinematic Video (Pro Tips For Any Budget)
- Video Transition Effects in Editing Explained (With Examples)
- How to Add Video Transitions (Step-by-Step Guides For Different Editors)
- The 12 Most Downloaded Video Transition Effects For Creators (And How To Use Them)